
Jupyter Notebook Tour & Python Review
Contents
2. Jupyter Notebook Tour & Python Review#
2.1. A jupyter notebook tour#
Launch a jupyter notebook:
on Windows, use anaconda terminal
on Mac/Linux, use terminal
cd path/to/where/you/save/notes
jupyter notebook
A Jupyter notebook has two modes. When you first open, it is in command mode. The border is blue in command mode.

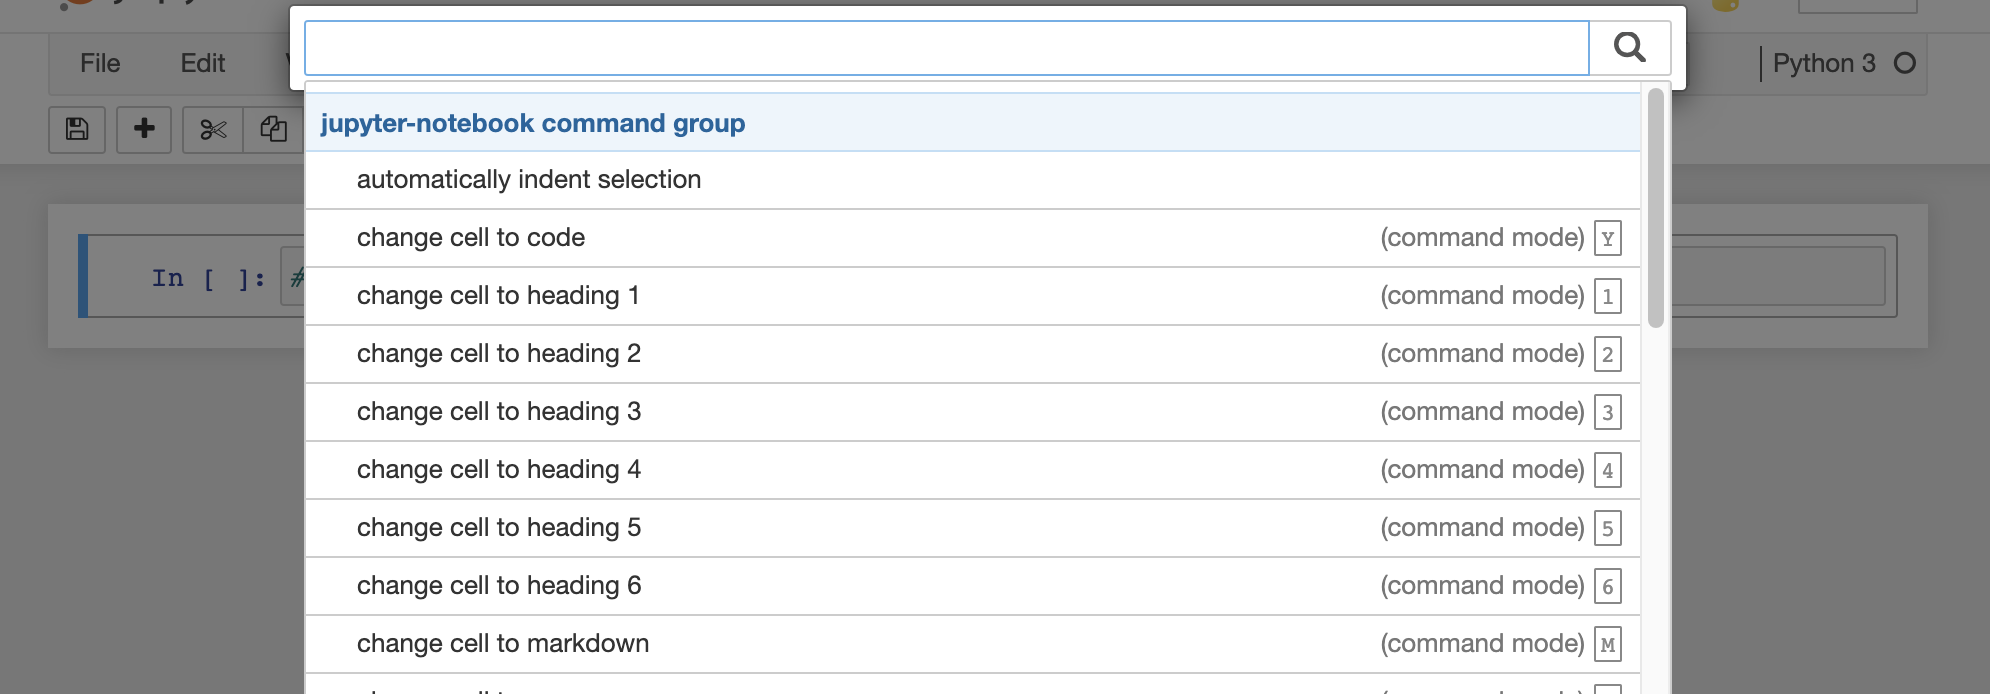
When you press a key in command mode it works like a shortcut. For example p shows the command search menu.
If you press enter (or return) or click on the highlighted cell, which is the boxes we can type in, it changes to edit mode. The border is green in edit mode

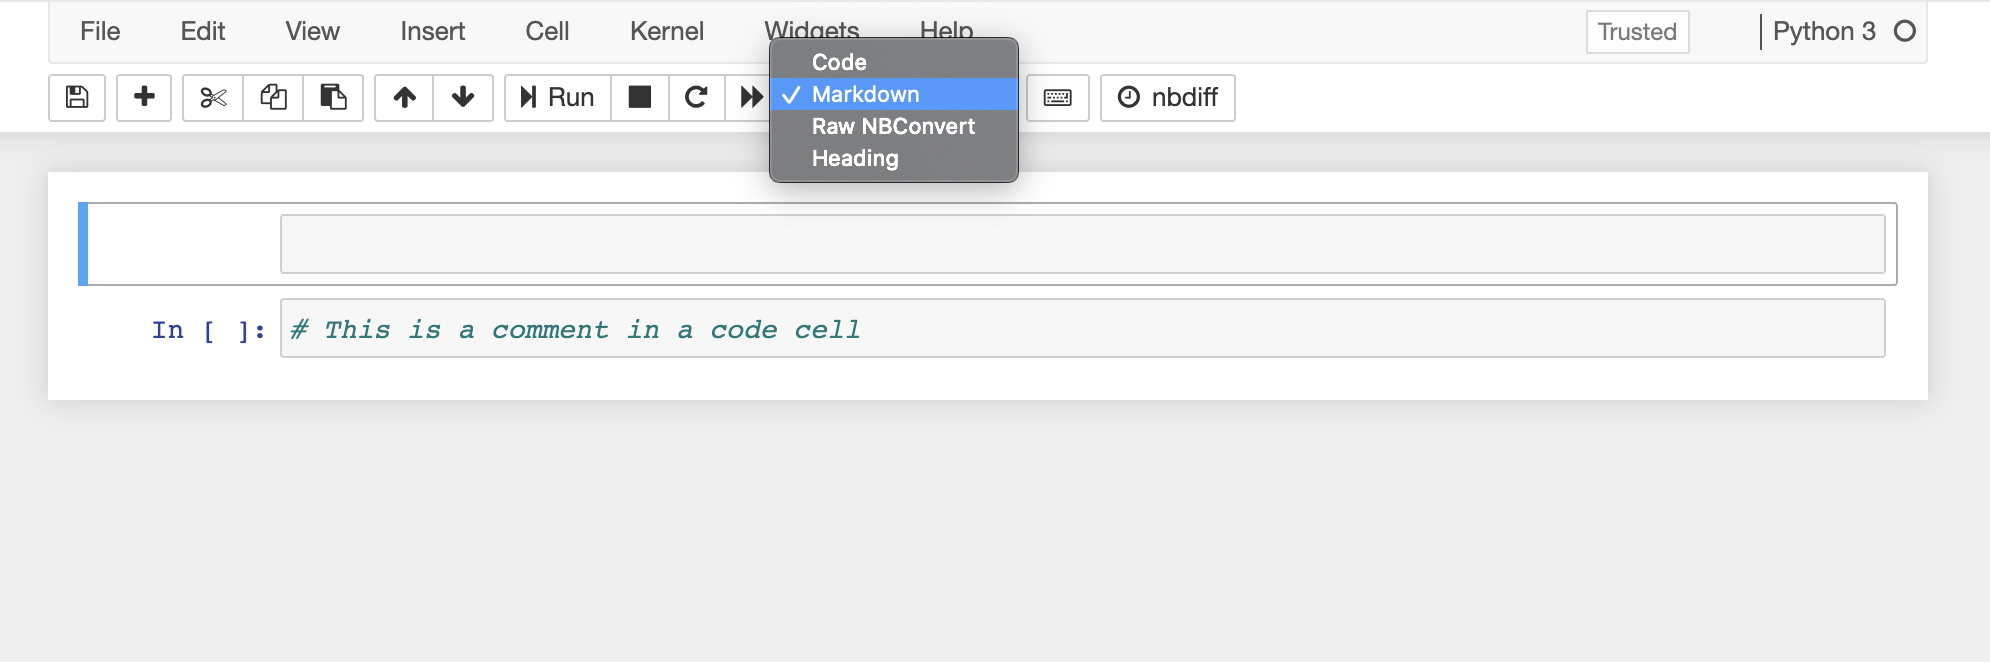
There are two type of cells that we will used: code and markdown. You can change that in command mode with y for code and m for markdown or on the cell type menu at the top of the notebook.
++
This is a markdown cell
we can make
itemized lists of
bullet points
and we can make nubmered
lists, and not have to worry
about renumbering them
if we add a step in the middle later
2.1.1. Notebook Reminders#
Blue border is command mode, green border is edit mode
use Escape to get to command mode
Common command mode actions:
m: switch cell to markdown
y: switch cell to code
a: add a cell above
b: add a cell below
c: copy cell
v: paste the cell
0 + 0: restart kernel
p: command menu
use enter/return to get to edit mode
In code cells, we can use a python interpreter, for example as a calculator.
4+6
10
It prints out the last line of code that it ran, even though it executes all of them
name = 'sarah'
4+5
name *3
'sarahsarahsarah'
Note
For a little more python review, see my 2020 CSC310 notes this is just enough for this assignment.
2.2. Just enough Git for Assignment 1#
2.2.1. Assignment 1:#
Goals for this assignment
setup your portfolio
check that you understand the grading
review Python basics
practice with git and GitHub
2.2.2. Why Version control#
We often want to keep track of the different versions in case we want to go back, but this can be painful:

We typically organize projects in folder

A repository is a folder with a hidden directory named .git

The git applicaiton manages that hidden directory, we don’t write to it directly, which
is why we keep it hidden.
Git is a distributed system, you have a local version and a remote version.

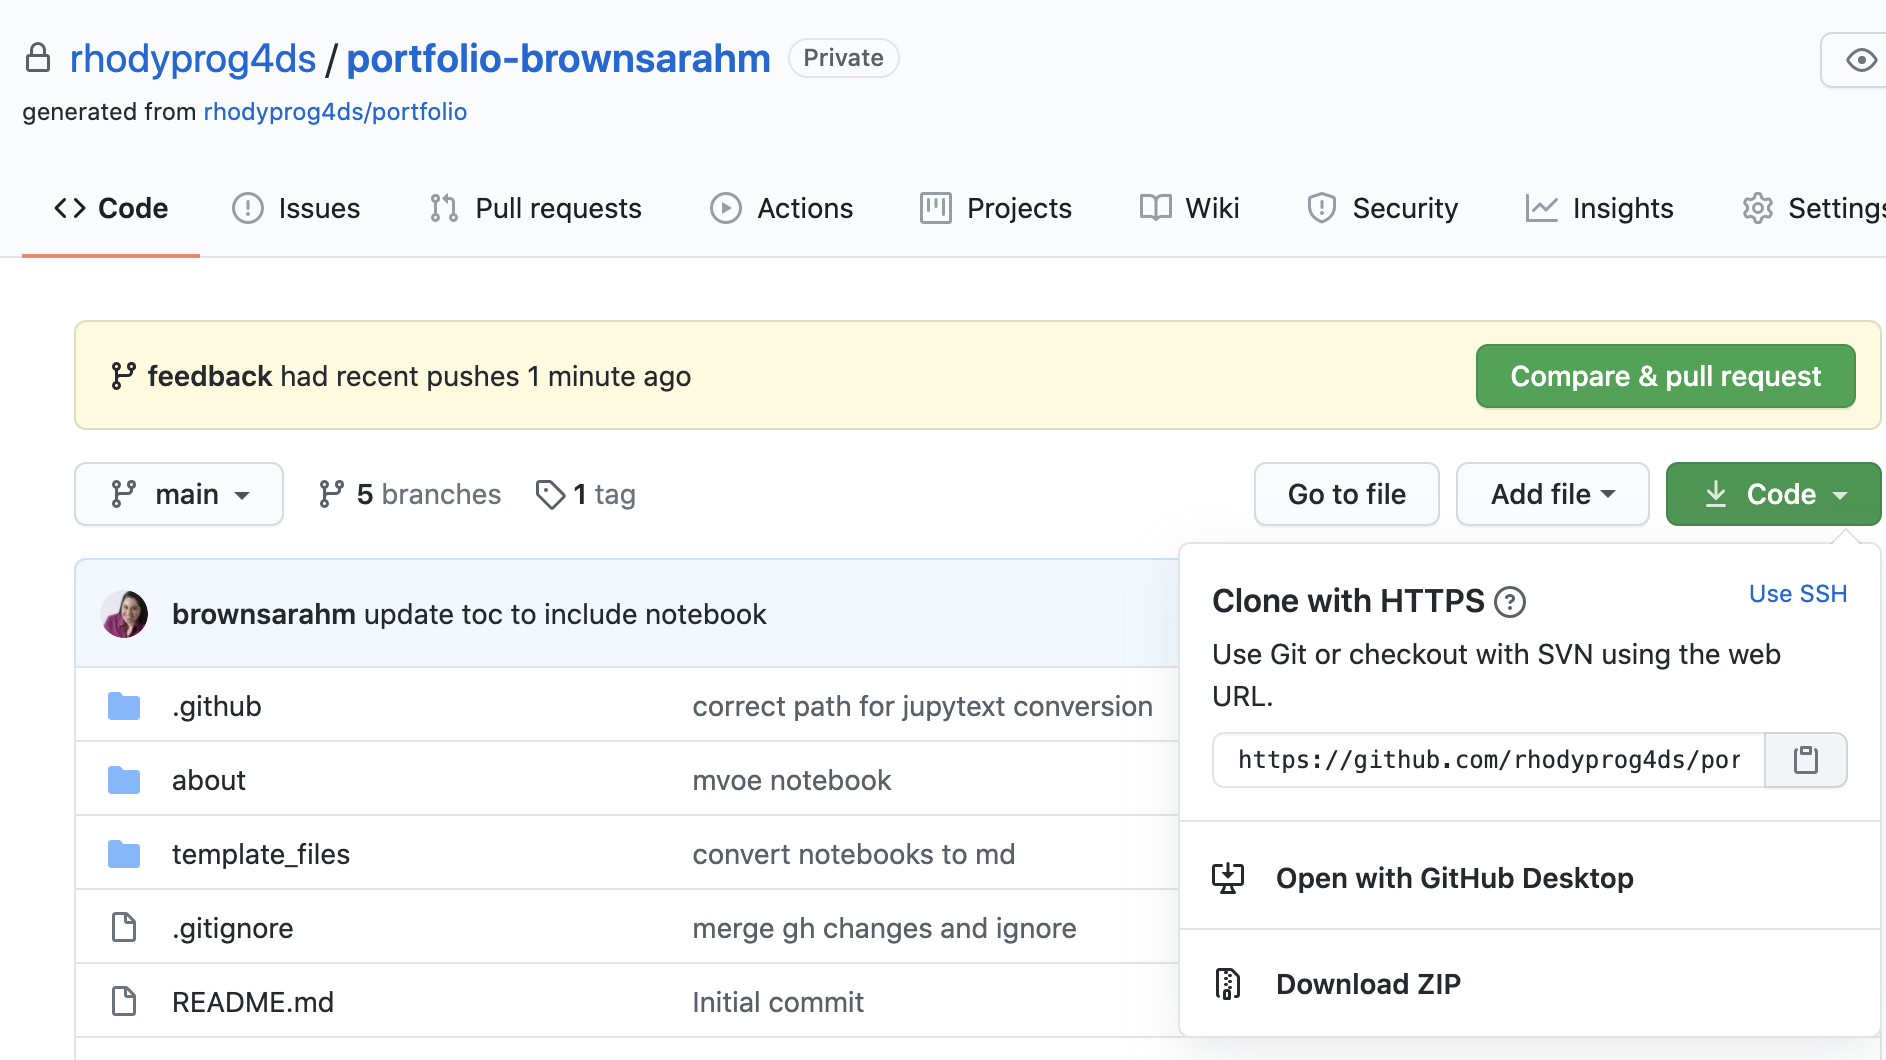
Once a repository exists on GitHub, we get a local copy by cloning it after we get its address from the GitHub interface, by clicking on the green code butto that is below the menu area to the right. It’s at the top right corner of the list of files in the repository.
For this part, use GitBash on windows or terminal otherwise: If you set up a Personal Access Token you can use the https version
After cd/to/where/you/want/your/repo/locally:
git clone https://github.com/rhodyprog4ds/portfolio-example
If you set up ssh keys you use that instead
git clone git@github.com:rhodyprog4ds/portfolio-example.git
Once it’s cloned, then you can navigate into the new folder:
cd portfolio-example
Then you can change files, for example adding to the intro.
Some common actions in Git, you’ll want.
Check on the status of your repository:
git status
Add files to the staging area:
git add filename
Add all changes to the staging area:
git add .
Commit your changes to the repository:
git commit -m 'a message that will help your future self know what this part is'
Push your changes to GitHub
git push
Pull changes from GitHub
git pull
You can also go through these same basic steps: add, commit, push
2.3. More on git#
Also, in Spring 2022, I’m teaching a section of CSC392: Topics in Computing, Introduction to Computer Systems, that will cover tools of the trade (git, bash, etc) and how they all work in great detail.
2.4. More on Python#
Read Pep 8 to see what good style in Python is.